All Peptides
UK's Largest Collection | 55+ Peptide Vials | COA Certified | Worldwide Shipping
Explore the BioPlex Peptides all peptides collection, featuring a wide range of Premium Grade research peptides supplied from the UK for laboratory research customers worldwide. This collection brings together the full BioPlex peptide range in one place, making it easier to browse individual peptide vials, compare research categories, and select compounds by name, pathway, format, or study interest. It is designed for customers searching for peptides for sale UK, buy peptides UK, research peptides UK, laboratory grade peptides, and trusted UK peptide supply with worldwide delivery.
The all peptides range includes compounds studied across metabolic signalling, neuroactive pathways, mitochondrial research, cellular communication, tissue matrix signalling, growth factor related studies, thymic peptide biology, cosmetic peptide research, and broader in vitro peptide investigation. Each product page is written with research only information, helping customers review technical details such as vial size, peptide class, sequence context where applicable, storage guidance, reconstitution information, and batch focused documentation.
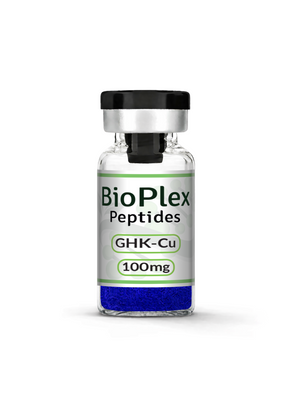
BioPlex Peptides currently lists 55 products in the all peptides collection, with examples including Retatrutide, Cagrilintide, BPC-157+TB500, IGF-1 LR3, PEG-MGF, Selank, Thymosin Alpha-1, SS-31, Tesamorelin, Sermorelin, TB500, and Snap 8.
Whether you are reviewing peptide fragments, receptor signalling compounds, mitochondrial peptides, neuropeptides, or grouped pathway research products, this collection provides a clear route into the BioPlex catalogue. BioPlex Peptides supports direct customers, international buyers, and approved trade supply accounts with professional product presentation, reliable UK supply, and worldwide shipping across a growing research focused peptide range.